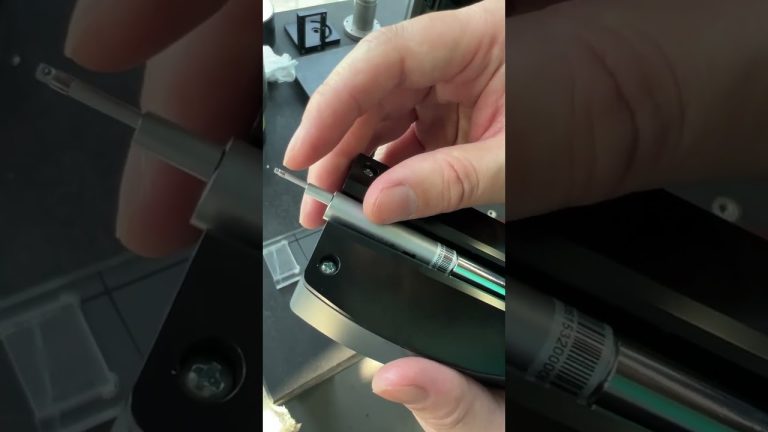
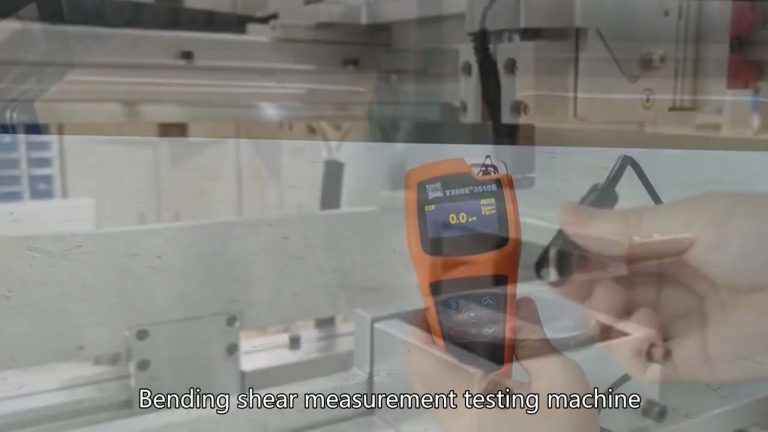
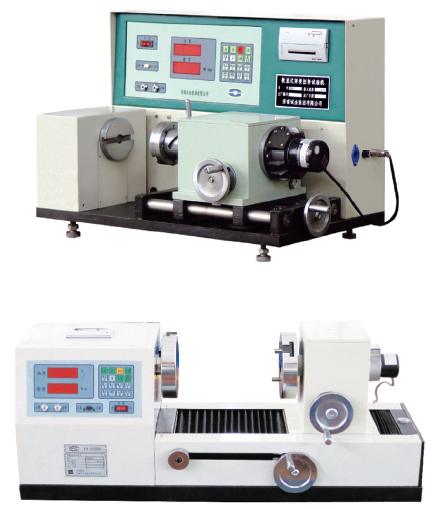
Since the thickness gauge is connected to a plc, various faults will be displayed. Common faults are as follows. According to different situations, corresponding treatments can be made to eliminate faults in time.
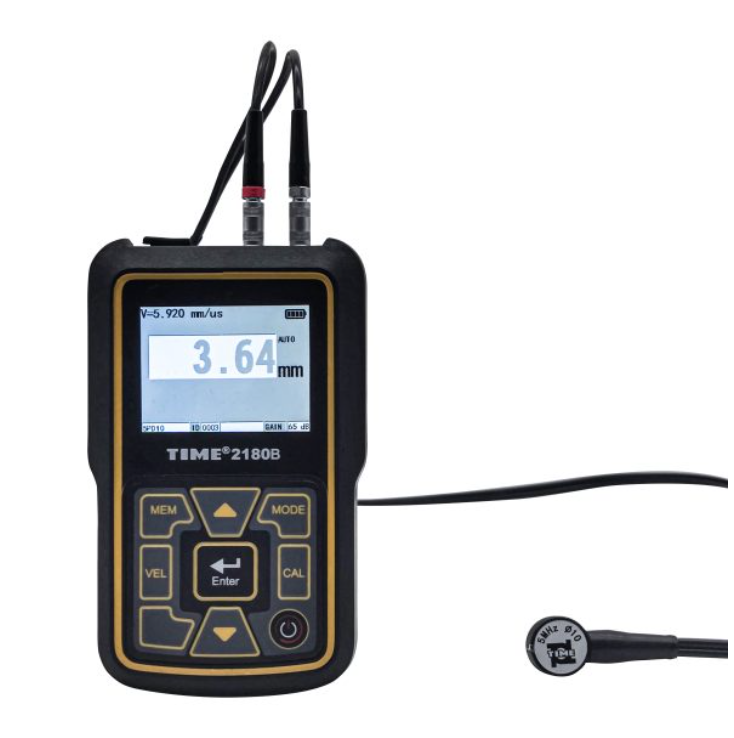
1) Thickness gauge measurement error
a. Re-measure at the wrong point: The thickness of the sides of many strips is different. If the thickness is checked, it must be checked at an equal distance from the edge like a measuring sensor.
b. Dirty sensor: Dirty sensors sometimes do not close completely. If the thickness gauge is automatically set to “0”, the value of the open sensor is mistakenly set to “0”, and the next measurement value will indicate a low level (below 0), and the strip will be rolled too thickly. ——The sensor must be clean, and the pressure head must be easy to tilt in and out. ——Clean frequently.
c. The sensor is clamped too tightly: If the clamp on the C-shaped frame is clamped – check whether the guide rod is straight and make appropriate adjustments. ———Loosen the clamp and retighten it, but not too tight or too loose.
d. The zero point is unstable: If the measuring rod is not clamped tightly enough when clamped into the guide rod, the measuring rod will move away from the guide rod. Then the indicated values will be wrong, even though the symmetry is correct. ——Check and tighten.
e. Long-term zero point drift: The built-in heater heats the entire thickness gauge, so its temperature does not change when measuring or not measuring. Temperature control can only be adjusted in such a way that this thickness gauge always maintains the same temperature, regardless of whether it is removed from the strip or starts measuring after being out of service for a long time. Temperature changes should not exceed 2°C. ———Check the heater.
f. Short-term drift of zero point: After the measurement, the rear part of the thickness gauge immediately adjusts back to the standard size zero position without pushing it to a0, and then it becomes visible. If the displayed value moves to “+” or “-“, the diamond head cooling is not working. ——Check to see whether the small air pipe is bent and whether the nozzle is connected to the diamond head. The cooling system at the pressure valve in the plenum can be readjusted (increase the pressure if the display moves to “-“, decrease the pressure if the display moves to “+”).
g. The displayed value is too low: If the sensors in the C-frame are not clamped tightly enough, they will move in the chuck, and the indication will be wrong when checking the zero point. ——The chuck is too hard, replace it.
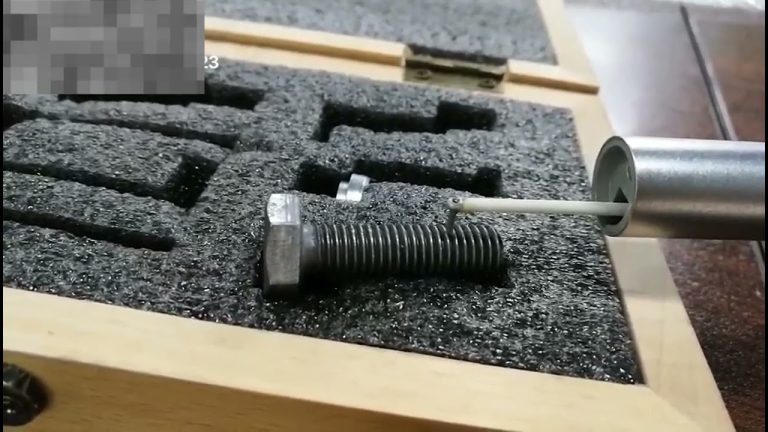
h. Indication error: If the fine needle of the micrometer is damaged, the standard size setting is incorrect. ———Replace damaged micrometers because the fine needle cannot be repaired or replaced.
i. Error indication: If a new component is put into use, its symmetry must be checked. This can be done by moving the upper and lower sensors upward or downward. If the display does not show “0” at this time, it is incorrect. ———Adjust the symmetry and check it when replacing the main parts.
j. The indicated value is too high: After the strip breaks or the end of the strip runs through the thickness gauge, the C-frame may be bent, and the indicated value is too high. ——Check and adjust.
k. If everything else is fine, but the instructions are still wrong. ——Check whether the holes in the two C-shaped frames are in a straight line.
l. Error indication: The guide rod supporting the sensor above must be adjusted to be absolutely straight and parallel. If they are bent or adjusted incorrectly, the measurement results will be wrong.
2) Scratches left on the material a) The drill bit is broken:
a. Sometimes the diamond heads are slammed together, and they may cause almost invisible ring-shaped cracks. Such cracks will leave scratches on the strip. In the event of strip breakage, the diamond tip may split from the measuring end. ——Replace the measuring head.
b. Wrong adjustment of the thickness gauge head: If the thickness gauge head is not adjusted parallel to the shape of the strip, only one end of the guide roller will be in contact with the strip, which will leave scratches. ———Adjust the suspension device correctly.
c. Diamond head wear: If the diamond head is arched, the measurement is only correct. Otherwise, if the diamond head is flat and worn, it will easily cause measurement errors and even leave scratches on the strip.

