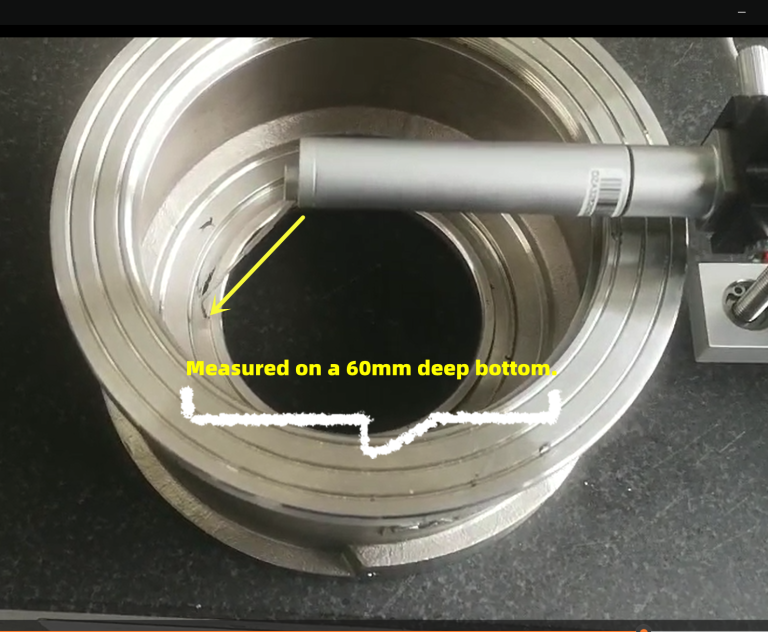
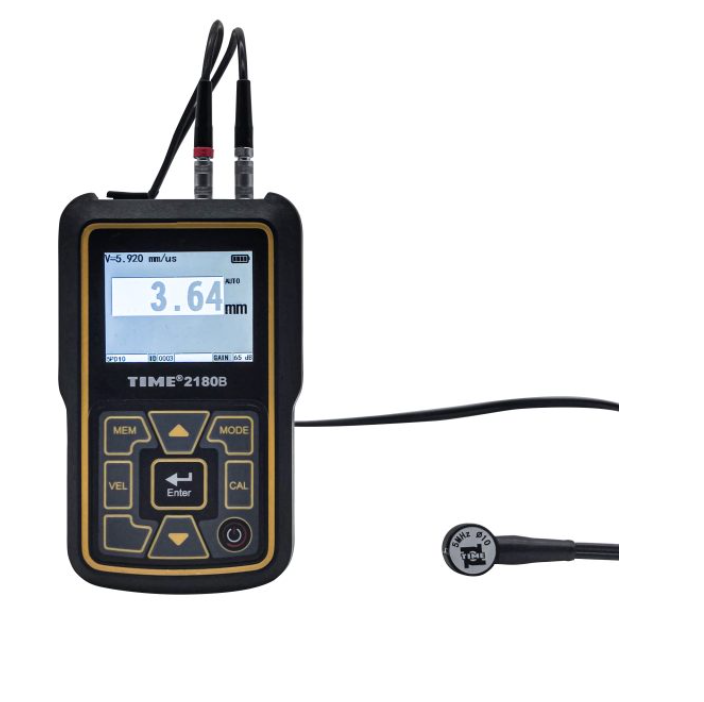
The main functions of ultrasonic probes:
1. Convert the returning sound waves into electrical pulses;
2. Control the propagation direction of ultrasonic waves and the degree of energy concentration. When changing the incident angle of the probe or changing the diffusion angle of the ultrasonic waves, the main energy of the sound waves can be injected into the medium at different angles or the directivity of the sound waves can be changed to improve the resolution. ;
3. Realize waveform conversion;
4. Control the working frequency, suitable for different working conditions.

There are many types of ultrasonic flaw detector probes. The following types of probes are commonly used in daily use:
- Ultrasonic flaw detector straight probe
Single element probe used for vertical flaw detection, mainly used for longitudinal wave flaw detection. The straight probe consists of a socket, shell, protective film, piezoelectric chip, sound-absorbing material, etc. The head contact surface is a replaceable soft film, which is used to detect workpieces with rough surfaces. - Ultrasonic flaw detector oblique probe
The probe used for oblique beam flaw detection is mainly used for transverse wave flaw detection. The oblique probe is composed of an oblique block, a piezoelectric chip, sound-absorbing materials, a shell, a socket, etc. The sound beam of the oblique probe is tilted to the surface of the probe, so it can be used to detect parts that cannot be reached by the direct sound beam, or between the direction of the defect and the detection surface. There is an angle between the areas. - Ultrasonic flaw detector small diameter tube probe
Single crystal micro shear wave oblique probe, used for inspection of welded joints of small diameter thin wall pipes. The testing standard refers to the electric power industry standard DL/T8202002 “Technical Regulations for Ultrasonic Inspection of Pipe Welded Joints”, which is suitable for testing small-diameter thin-walled pipes with a pipe diameter ≥32mm and less than or equal to 159mm, and a wall thickness ≥4mm and less than 14mm; it can also be applied to other industries. Similar to pipeline inspection. The probe has small dimensions, leading edge distance ≤5mm, starting pulse width ≤1.5mm (equivalent to the depth in steel), and resolution greater than or equal to 20dB. According to the outer diameter of the pipe to be detected, the detection surface is processed into a curvature corresponding to the pipe diameter. - Ultrasonic flaw detection instrument surface wave probe
Probe for transmitting and receiving surface waves. Surface waves are waves that propagate along the surface of the workpiece. The amplitude decreases rapidly with the depth under the surface. The propagation speed is 0.9 times that of transverse waves. The vibration trajectory of the particle is an ellipse. The surface wave probe generates surface waves on the surface and near surface of the workpiece being inspected. The angle listed in the model is the inclination angle (incident angle) of the plexiglass inclined block. - Detachable oblique probe of ultrasonic flaw detector
A special type of angle probe, the angle probe is divided into two parts: the angle block and the probe core. When used, the two parts are combined. Commonly used specifications are 2.5P20 probe core and slope blocks with different K values (1.0, 1.5, 2.0, 2.5, 3.0, etc.). Customized detachable angle probes with other specifications are accepted. 6. Ultrasonic non-metal detection probe
Used to detect non-metallic materials such as concrete, wood, rocks, etc. Used in pairs, one sending and one receiving, the working mode is transmission type. Aluminum alloy shell, frequency from 12.5KHz to 250KHz, the socket connected to the probe line is Q9. - Ultrasonic flaw detector dual element probe
A probe equipped with two elements, one acting as a transmitter and the other as a receiver. Also called split probe, or combined dual probe. The dual-element probe is mainly composed of a socket, a shell, a sound insulation layer, a transmitting chip, a receiving chip, a delay block, etc. It uses a vertical longitudinal wave sound beam to scan the workpiece. Compared with straight probes, dual-element straight probes have better near-surface defect detection capabilities; they have better coupling effects for rough or curved detection surfaces. - Ultrasonic water immersion probe
Used in semi-automatic or automated flaw detection systems. When the axis of the sound beam emitted by the probe is perpendicular to the detection surface, the longitudinal wave straight sound beam scans the workpiece; adjust the sound beam axis of the probe to form a certain angle with the detection surface, and the sound beam is refracted at the interface of the two media: water and the workpiece. An inclined transverse sound beam is generated in the workpiece to scan the workpiece. By processing the organic glass or cured epoxy resin in front of the probe chip into a certain arc (spherical or cylindrical), a point-focused or line-focused water immersion probe can be obtained.


