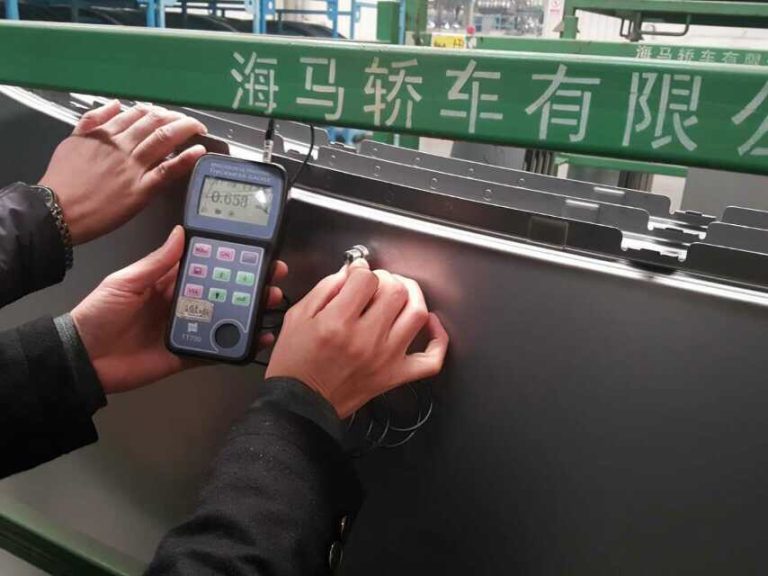
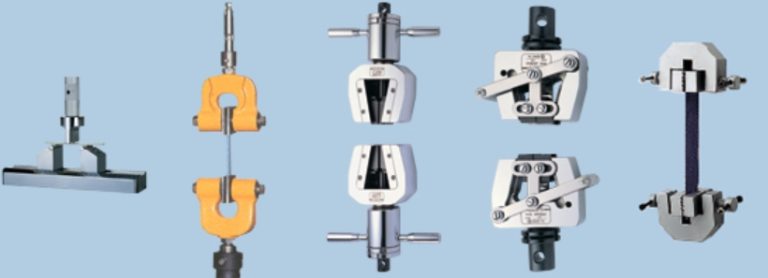
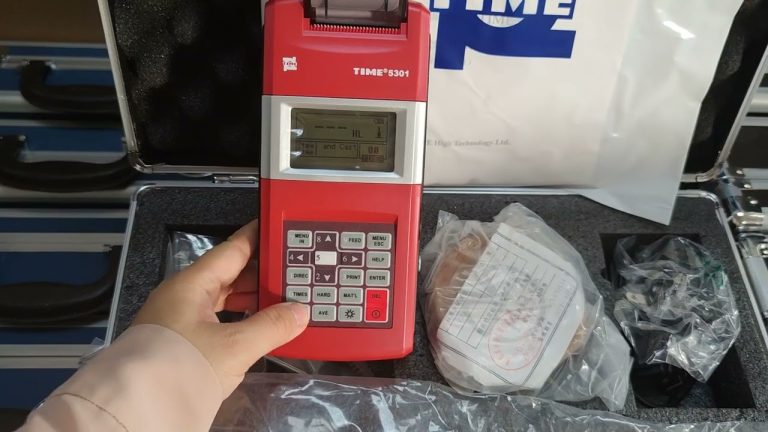
With the development of industry, metallographic microscopes have been widely used in the electronics, chemical industry and instrumentation industries to observe the surface phenomena of opaque substances for research and analysis; chips, printed circuit boards, liquid crystal panels, wires, fibers, plating Coatings and other non-metallic materials, etc., and conduct research and analysis on some surface conditions.
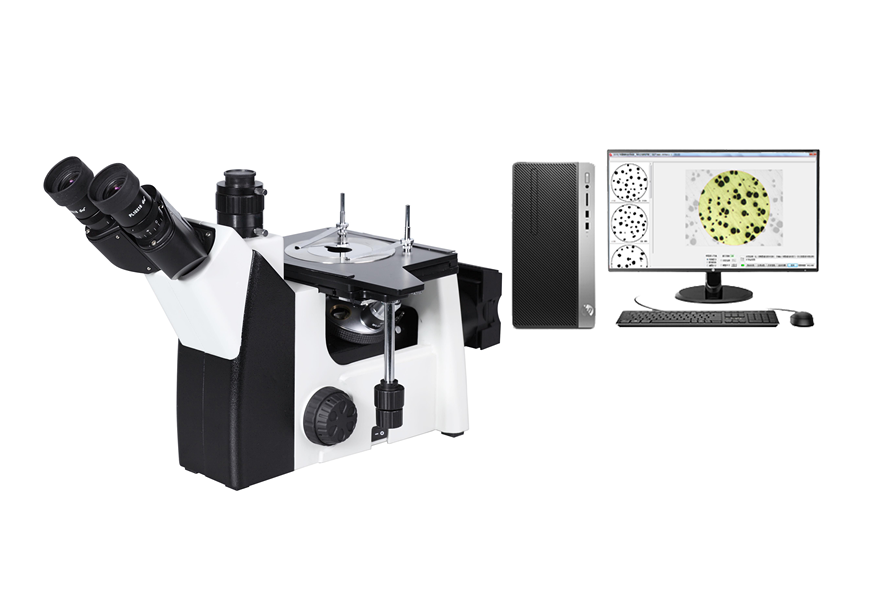
By observing the distribution of metallographic components of metal structures with a metallographic microscope, certain properties of the product, such as mechanical properties and defects in product production, can be obtained, thereby providing suggestions for production and improving certain processes.
- Working principle
The magnification system is key to the usefulness and quality of a microscope. Mainly composed of objective lens and eyepiece.
The magnification of a microscope is:
M display = L/f object × 250/f mesh = M object × M mesh In the formula, [m1] M display——indicates the magnification of the microscope; [m2] M object, [m3] M mesh and [f2] f object, [f1] f mesh represents the magnification and focal length of the objective lens and eyepiece respectively; L is the length of the optical tube; 250 is the photopic distance. All length units are mm.
Resolution and Aberration The resolution of the lens and the degree of correction of aberration defects are important indicators of the quality of the microscope. In metallographic technology, resolution refers to the minimum resolution distance of the objective lens to the target object. Due to the diffraction phenomenon of light, the minimum resolution distance of the objective lens is limited. The German Abb proposed the following formula for the minimum resolution distance ( )
d=λ/2nsinφ where [kg2][kg2] is the wavelength of the light source; n is the refractive index of the medium between the sample and the objective lens (air; =1; turpentine: =1.5); φ is half the aperture angle of the objective lens.
It can be seen from the above formula that the resolution increases as the sum increases. Because the wavelength of visible light [kg2][kg2] is between 4000 and 7000. In the most favorable case where the [kg2][kg2] angle is close to 90, the resolution distance will not be higher than [kg2]0.2m[kg2]. Therefore, the microstructure smaller than [kg2]0.2m[kg2] must be observed with the help of an electron microscope (see), while the morphology, distribution, and crystal structure of the tissue with a scale between [kg2]0.2~500m[kg2] Changes in particle size, as well as the thickness and spacing of slip zones, can be observed with an optical microscope. This plays an important role in analyzing alloy properties, understanding metallurgical processes, conducting quality control of metallurgical products, and analyzing component failure.
The degree of aberration correction is also an important factor affecting imaging quality. At low magnification, the aberration is mainly corrected through the objective lens; at high magnification, the eyepiece and objective lens need to be corrected together. There are seven main types of lens aberrations, five of which are spherical aberration, coma aberration, astigmatism, field curvature and distortion for monochromatic light. There are two types of polychromatic light: longitudinal chromatic aberration and transverse chromatic aberration. Early microscopes focused primarily on the correction of chromatic aberration and partial spherical aberration, with achromatic and apochromatic objectives depending on the degree of correction. In recent metallographic microscopes, sufficient attention has been paid to aberrations such as object field curvature and distortion. After the objective lens and eyepiece are corrected for these aberrations, not only the image is clear, but also its flatness can be maintained over a large range, which is particularly important for metallographic microphotography. Therefore, plan achromatic objectives, plan apochromatic objectives, and wide-field eyepieces are now widely used. The above-mentioned aberration correction degrees are marked on the objective lens and eyepiece respectively in the form of lens type.
Light source: The earliest metallographic microscope used ordinary incandescent bulbs for illumination. Later, in order to improve the brightness and lighting effect, low-voltage tungsten lamps, carbon arc lamps, xenon lamps, halogen lamps, mercury lamps, etc. appeared. Some microscopes with special properties require monochromatic light sources, and sodium lamps and TA lamps can emit monochromatic light.
Illumination method: A metallographic microscope is different from a biological microscope in that it does not use transmitted light but reflected light for imaging, so it must have a special additional lighting system, that is, a vertical lighting device. In 1872 V. von Lang created this device and made the first metallographic microscope. The original metallographic microscope only had brightfield illumination, and later developed oblique illumination to improve the contrast of certain tissues.
- Purpose
Metallographic microscopes are often used to identify and analyze the organizational structure of various metals, alloy materials and non-metallic materials. It is an equipment for studying the organizational structure of materials in metallurgy and materials science, and is also a powerful assistant in the fields of scientific research and teaching.
Suitable for aviation manufacturing, machinery manufacturing, vehicle manufacturing, boiler and pressure vessel manufacturing and inspection, petrochemical industry, railways, shipbuilding, power plants, power stations, equipment installation, large molds, safety testing, quality supervision, physical and chemical laboratories and other industries.
It can also be widely used in factories and laboratories for casting quality identification, raw material inspection, or research and analysis of metallographic structures after material processing.
In industrial measurement, metallographic microscopes are more accurate than image measuring instruments. Generally, metallographic microscopes are needed to measure parts with relatively high precision. The metallographic microscope is a microscope suitable for metallographic inspection and failure analysis of various large workpieces on site. It does not require cutting and sampling, but directly grinds and polishes the workpiece to ensure the integrity of the workpiece. The base of the microscope is equipped with a magnetic suction seat, which can be directly On-site metallographic inspection by adsorbing on the workpiece to observe the structure.

