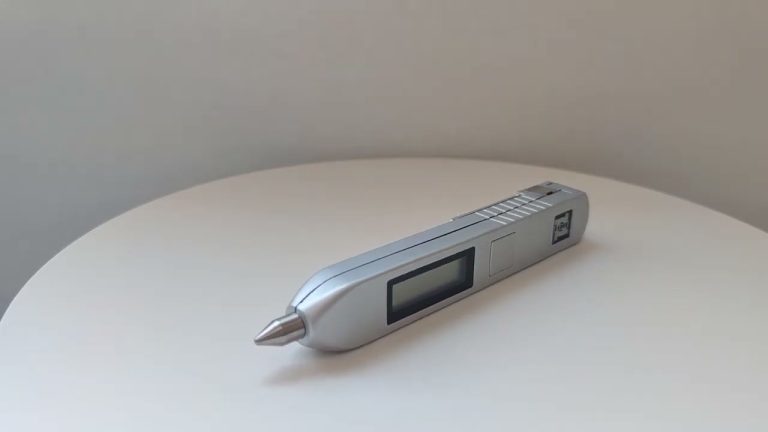
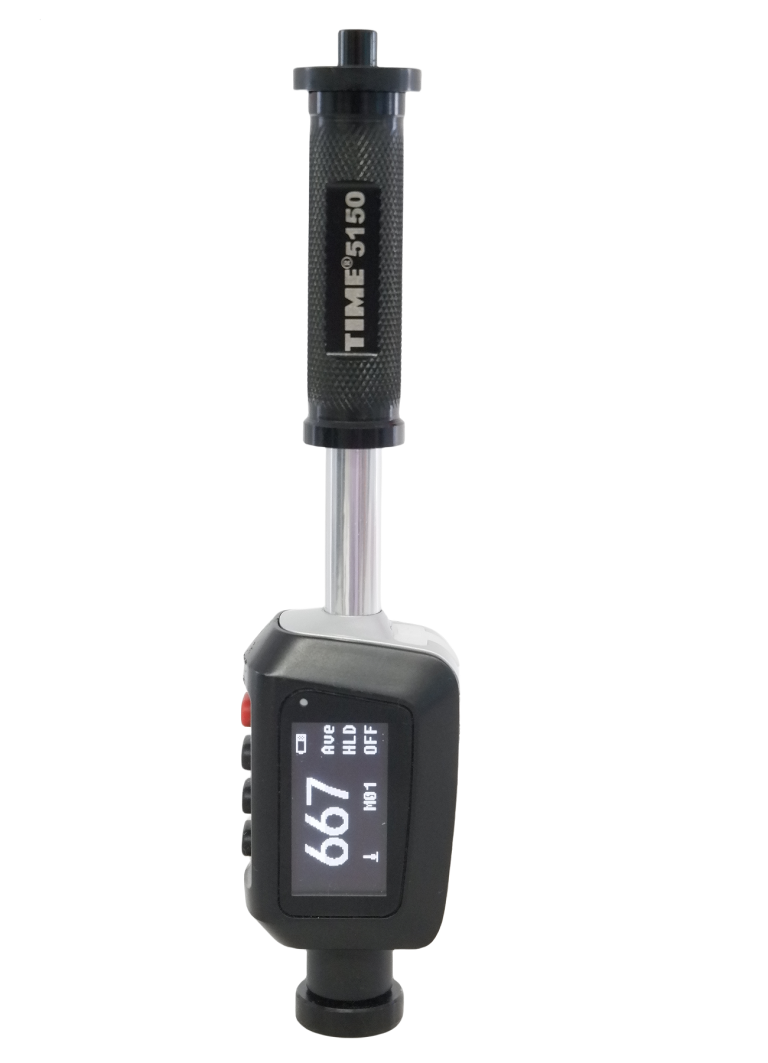
Pen Type Hardness Tester TIME®5100/5102/5104 is economically priced and suitable for quick hardness testing on metal materials, especially on-site hard testing of large, non-transportable components.

The basic principle is: The impact object of certain weight pounds at the testing surface under certain test force. Measure the impacting velocity and the rebounding velocity of the impact object respectively when it is 1mm above the testing surface. The calculation formula is as followed:
HL=1000×VB/ VA
Where, HL–Leeb hardness value
VB— Rebounding velocity of the impact object
VA –Impacting velocity of the impact object
Preparation for sample surface should conform to the relative requirement in figure 3.
●In the preparation process for sample surface, the hardness effect of being heated or cold processing on the surface of sample should be avoided;
●Too big roughness of the measured surface could cause measure error. So, the measured surface must be metallic luster, smoothing and polish, without oil stain;
●Curved surface: The best testing surface of sample is flat. When the curvature radius R of the surface to be tested is smaller than 30mm,the small support ring or the shaped support rings should be chosen
●Support of test sample
Support is not necessary for heavy sample.
Medium-weight parts must be set on the smoothing and stable plane. The sample must set absolutely equability and without any wobble.
●The sample should have enough thickness, minimum thickness of sample should conform to table 3.

●For the sample with hardened layer on surface, the depth of hardened layer should conform to table 3.
●Coupling
Light-weight sample must be firmly coupled with a heavy base plate. Both coupled surfaces must be flat and smooth. And there should be no redundant coupling agent exists. The impact direction must be vertical to the coupled surface.
●When the sample is a big plate, long rod or bending piece, it can be deformed and become unstable, even though its weight and thickness is big enough, and accordingly, the test value may not be accurate. So should be reinforced or supported at its back.
●Magnetism of the sample itself should be avoided.
● After the impact device is used for 1000–2000 times, use the cleaning brush provided to clean the guide tube and the impact body. To clean the guide tube, unscrew the support ring firstly, then take out the impact body, spin the cleaning brush in counter-clock direction into the bottom of guide tube and take it out for 5 times, and then install the impact body and support ring again.
● Release the impact body after use.
● Any lubricant is absolutely prohibited inside the impact device.
● When using standard Rockwell hardness block to test, if all the error is bigger than 2 HRC, maybe the test tip is invalid because of abrasion. Changing the test tip or impact object should be considered.
- When the hardness tester appears any other abnormal phenomena, please do not dismantle or adjust any fixedly assembled parts by yourself. You can contact with TIME Group Inc. service department.

