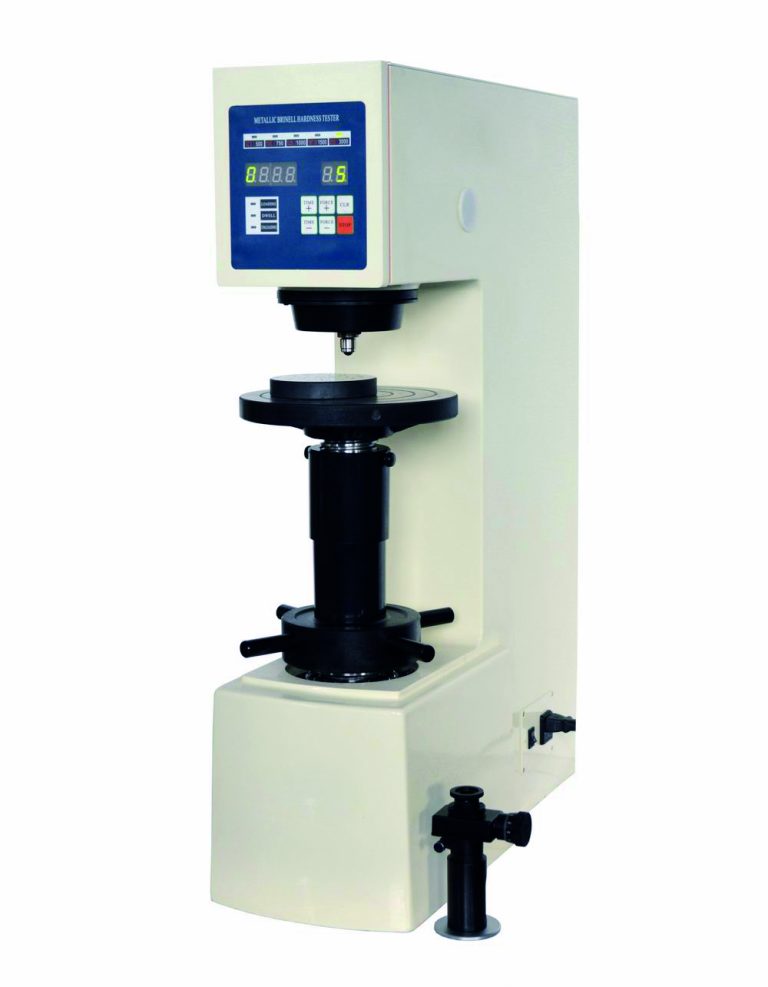
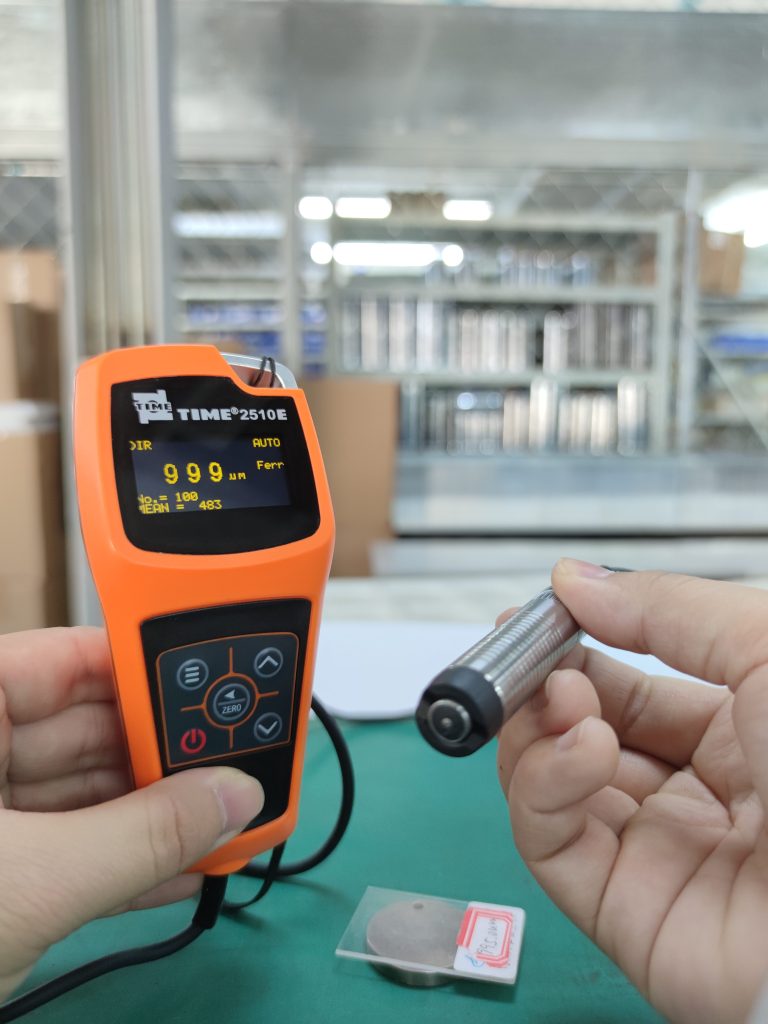
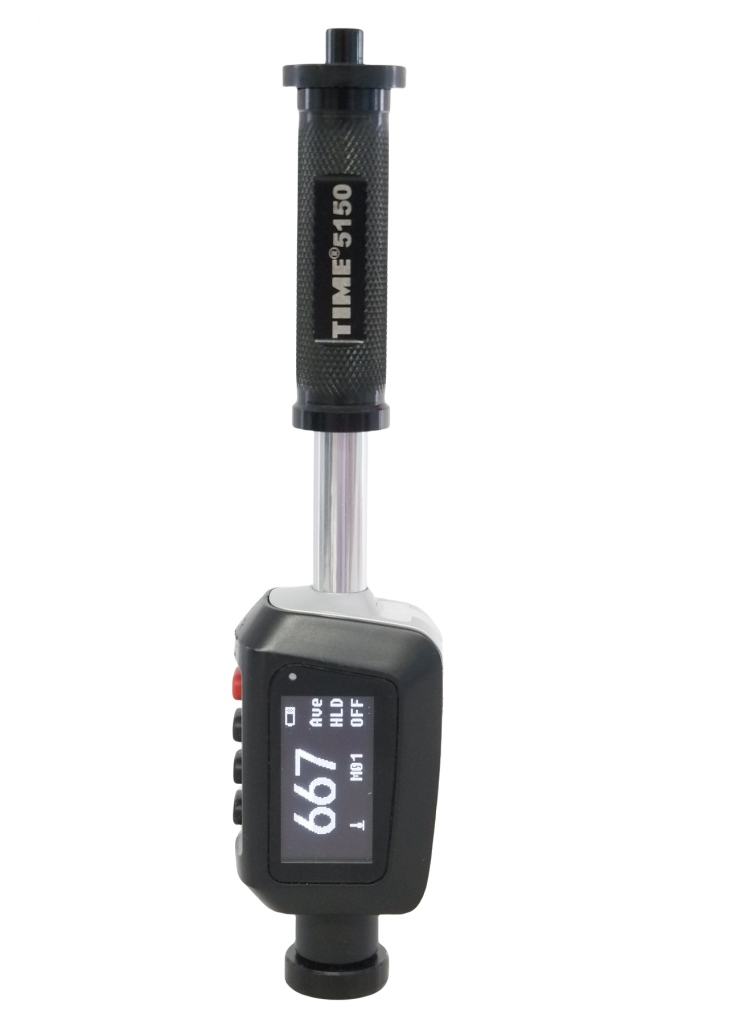
The Leeb hardness tester is an instrument used to measure the hardness of materials. Here are the general steps for use:
Preparation: Place the Leeb hardness tester on a horizontal and stable surface to ensure that the instrument is working properly. Select a suitable test probe and adjust it according to the hardness range of the material being tested.
Calibrate the instrument: Perform the calibration operation according to the instrument’s instruction manual. This ensures the accuracy of the measurement.
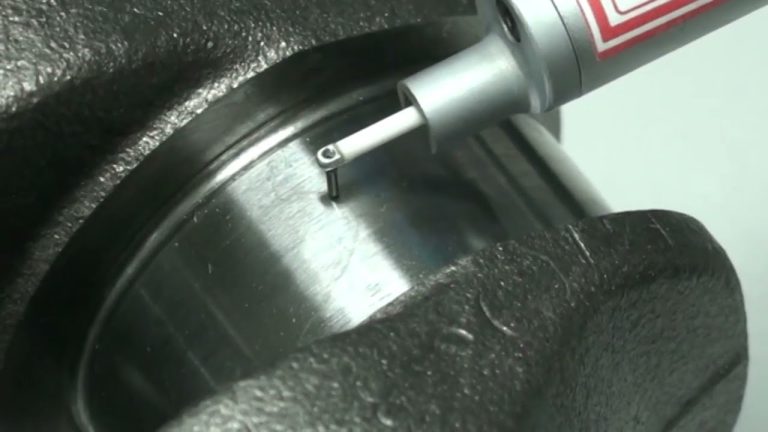
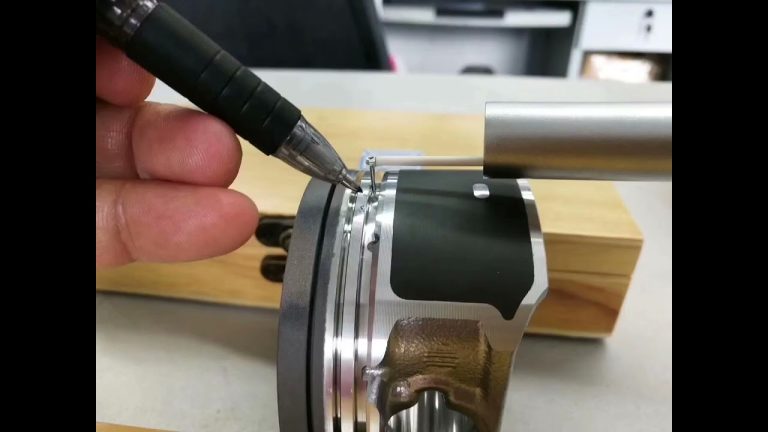
Select the test point: Select a suitable test point according to the shape and size of the material being tested. Generally, a flat and smooth surface should be selected for testing.
Perform the test: Press the test probe vertically on the test point and apply appropriate pressure to make the probe in close contact with the material being tested. Then, press the measurement button and the instrument will automatically measure and display the hardness value.
Record data: Record the measured hardness value and perform multiple measurements as needed to obtain more accurate results.
Analyze the results: Based on the hardness value and relevant standards, determine whether the hardness of the material being tested meets the requirements.
It should be noted that the specific usage method may vary depending on the model of the Leeb hardness tester. Before use, be sure to read the instrument’s operating manual carefully and operate as required. Additionally, proper use and calibration of the Leeb hardness tester is essential to obtaining accurate measurement results.