About profile meters and roughness meters
The profile meter and the roughness meter are not the same product. The main function of the profile meter is to measure the contour shape of the surface of the part, such as: the groove depth, groove width, and chamfering (including chamfering position, chamfering size, etc.) of the grooves in automobile parts. Angle, etc.), straightness of the cylinder surface line and other parameters. In short, the profilometer reflects the macro contour of the part.
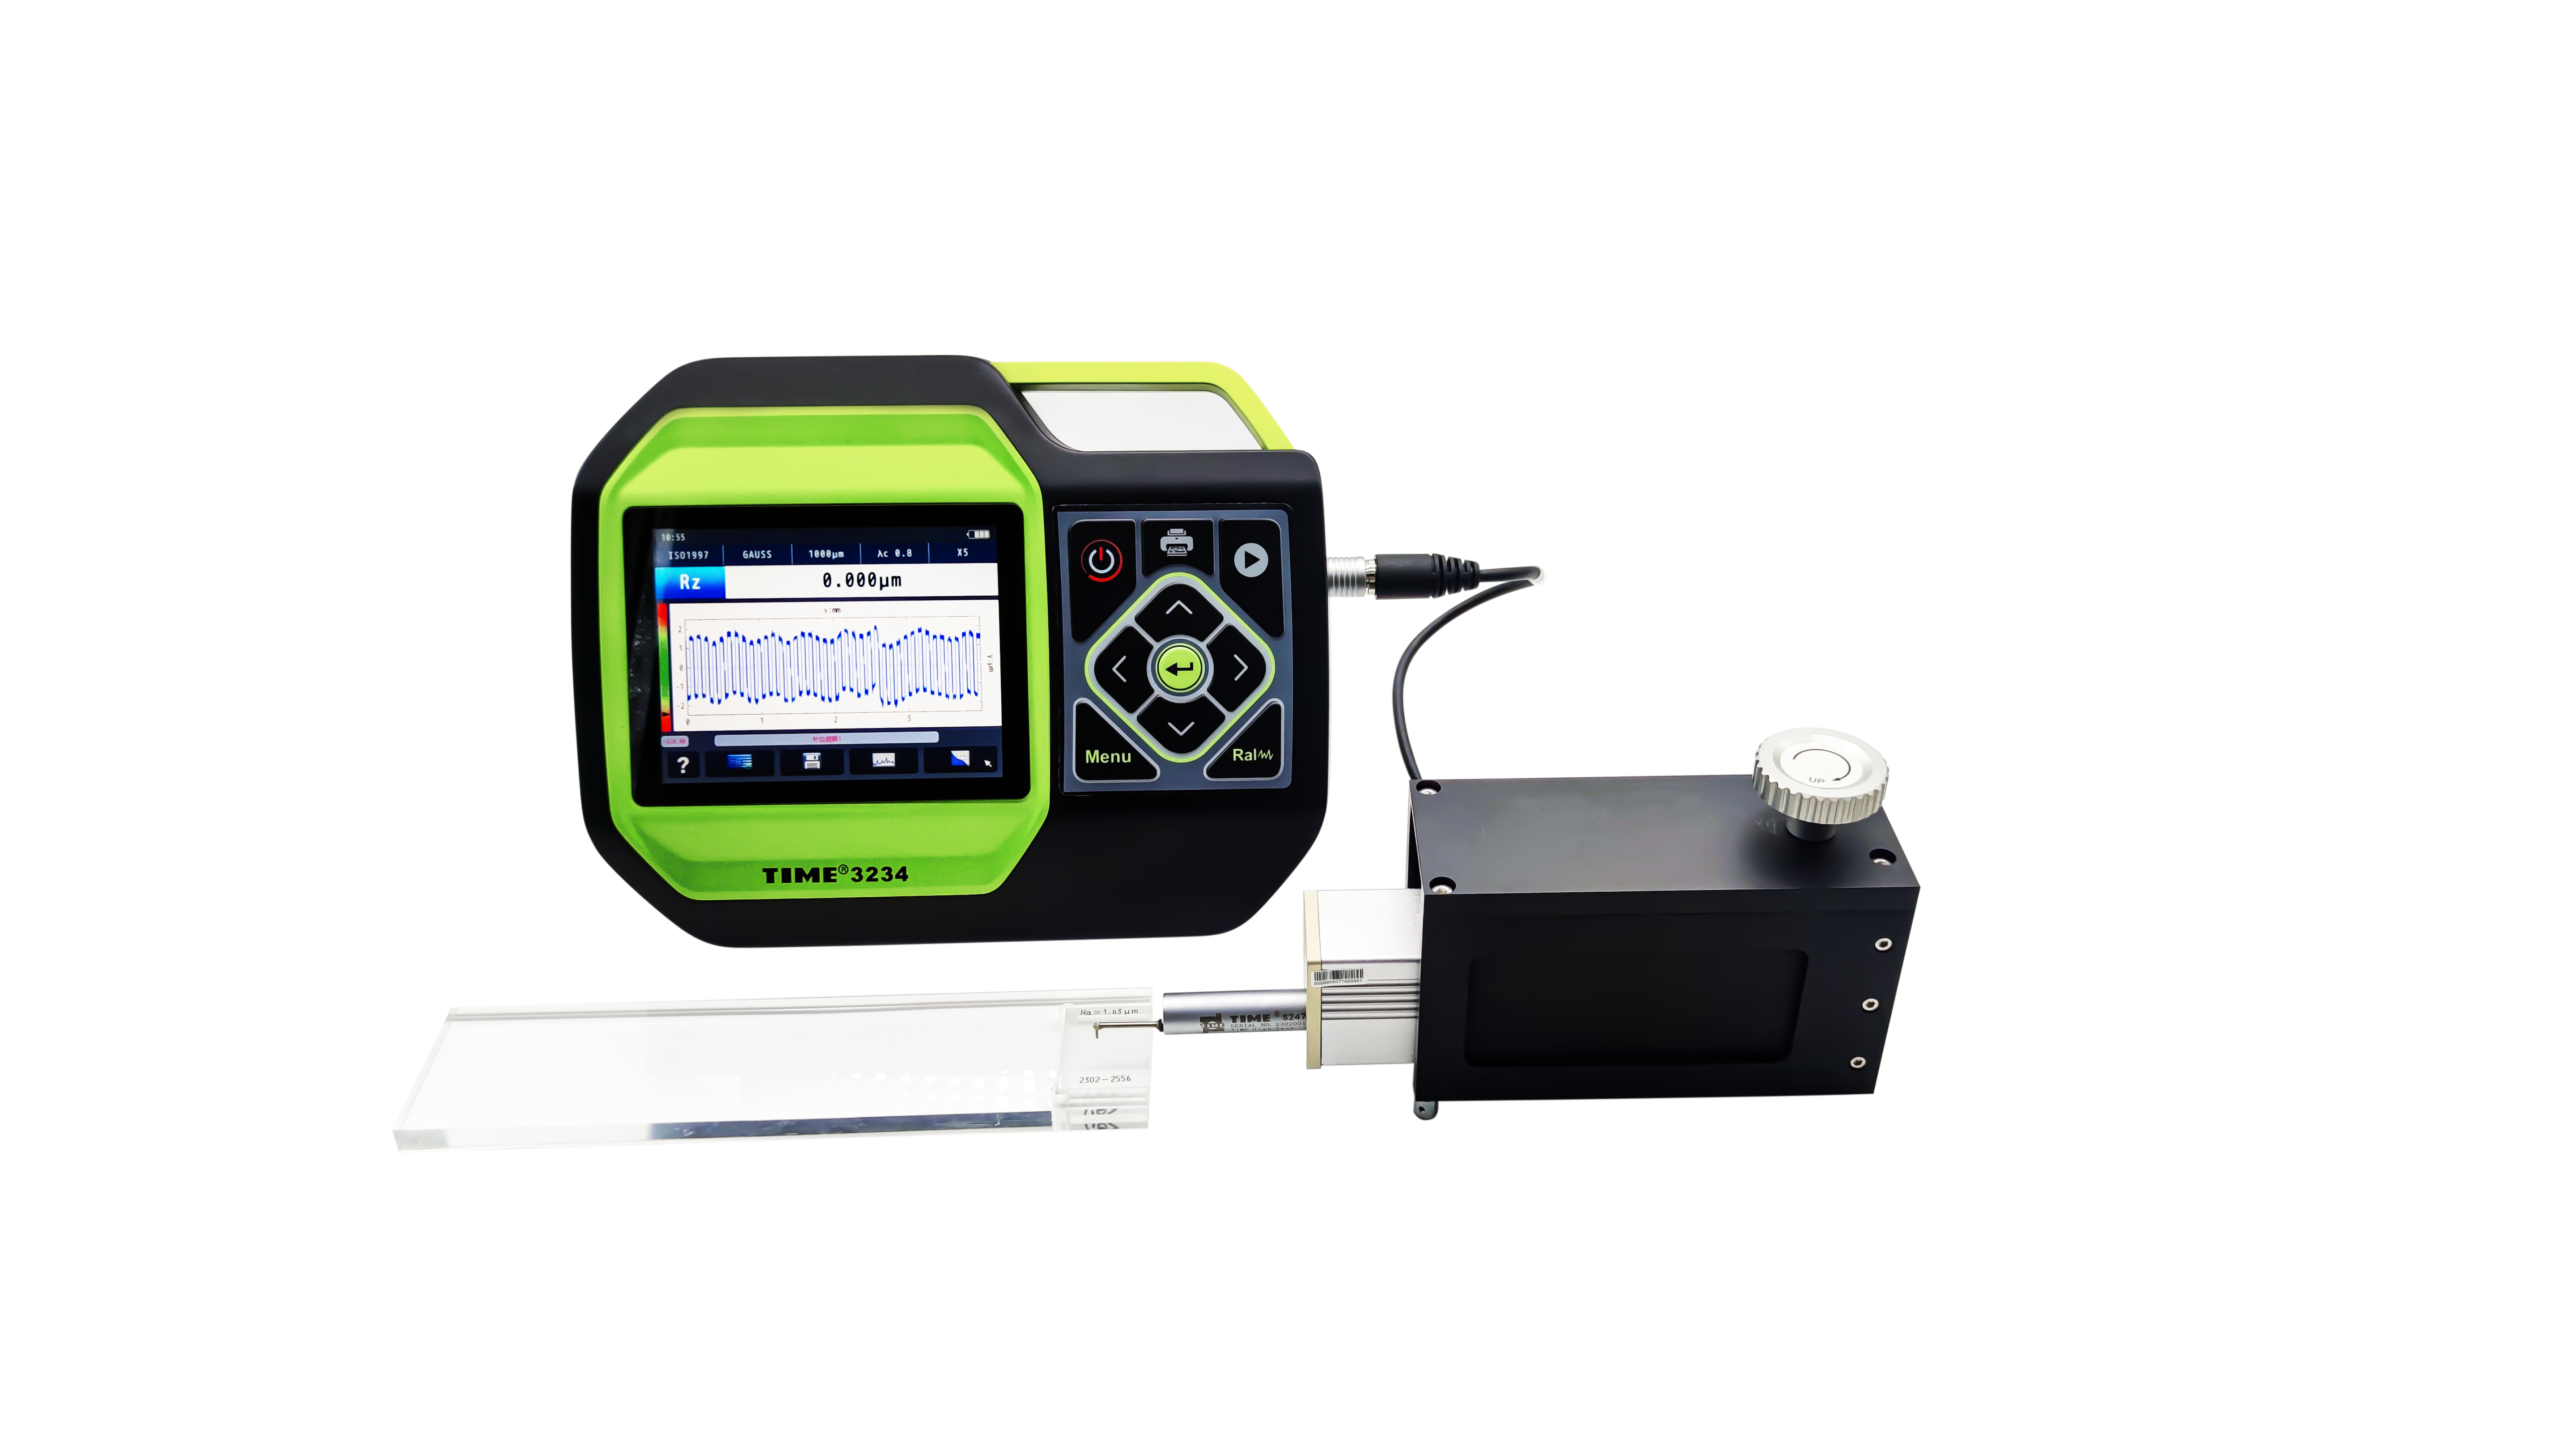
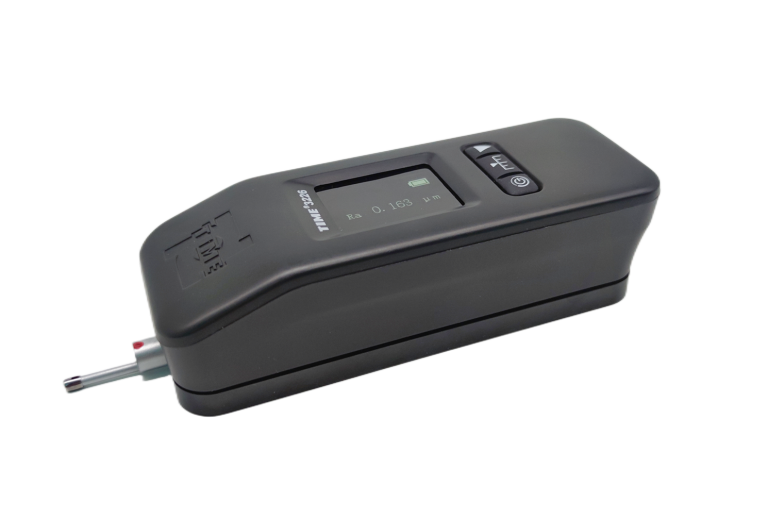
The function of the roughness meter is to measure the surface processing quality of the part surface in the grinding/finishing process. In layman’s terms, it means that the surface of the part is processed to a smooth finish (the old national standard for roughness is called smoothness), that is, the roughness reflects the processing of the part. Microscopic conditions on the surface.
The profilometer is suitable for surface measurement of workpieces with shapes such as flat surfaces, internal and external cylindrical surfaces, conical surfaces, spherical surfaces, curved surfaces, small holes, grooves, etc. The measurement is quick and convenient with high accuracy.
Profile meter measurement functions:
Size: including horizontal distance, vertical distance, linear distance, radius, diameter
Included angle: including horizontal angle, vertical angle, included angle
Position tolerance: including parallelism and perpendicularity
Shape tolerance: including straightness, convexity, arc profile
Auxiliary generation: including auxiliary points, auxiliary lines, and auxiliary circles
Roughness analysis: Ra, Ramax, Ramin, Rasd, Rp, Rpmax, Rpmin, Rpsd, Rv, Rvmax, Rvmin, Rvsd, Rz, Rzmax, Rzmin, Rzsd, R3z, Rc, Rcmax, Rcmin, Rcsd, Rt, Rq, Rqmax, Rqmin, Rdsd, Rsk, Rskmax, Rsmin, Rsksd, Rku, Rkumax, Rkumin, Rkusd, Rsm, Rsmmax, Rsmmin, Rsmsd, Rs, R△a, R△amax, R△amin, R△asd, R△ q, R△qmax, R△qmin, R△qsd, Rk, Rpk, Rvk, Mr1, Mr2, Rλa, Rλamax, Rλamin, Rλasd, Rλq, Rλqmax, Rλqmin, Rλqsd, Rδc, Rpc, Rmr
Waviness analysis: Wa, Wamax, Wamin, Wasd, Wsa, Wca, Wa08, Wc, Wcmax, Wcmin, Wcsd, Wt, Wz, Wzmax, Wzmin, Wzsd, Wp, Wpmax, Wpmin, Wpsd, Wv, Wvmax, Wvmin, Wcsd, Wq, Wqmax, Wqmin, Wqsd, Wsm, Wsmmax, Wsmmin, Wsmsd, Wsk, Wskmax, Wskmin,
Wsksd, Wku, Wkumax, Wkumin, Wkusd, W△q, W△qmax, W△qmin, W△qsd, Wδc, Wmr
Raw contour analysis: Pa, Pt, Pp, Pc, Pv, Pz, Pq, Psm, Psk, Pku, RzJ, Rpq, Rvq, Rmq, Pmr, P△q, Avh, Hmax, Hmin, Area, Pδc, Tilta.
The all-in-one roughness profiler can measure both the macroscopic profile of the part surface and the microscopic profile of the part surface. It can also measure the surface roughness. There is also a profiler called a profiler that can only measure the surface profile of the part without roughness measurement. Head profilometer.
About three-coordinate measurement of contour and roughness
The three-dimensional coordinate measuring machine cannot measure roughness. As for the profilometer that measures the surface of the part, it depends on the measurement accuracy of the three-coordinate and the requirements of the surface profile of the part. If your three-dimensional coordinate measuring machine has a relatively high accuracy, but the part profile The requirements are not high and can be replaced by three coordinates. However, generally speaking, a CMM cannot replace a profiler for automobile parts, because the accuracy requirements of automobile parts are generally relatively high. Even the CMM with the highest accuracy level may not be able to meet the measurement requirements of automobile parts.

