BEIJING TIME VISION AI INSTRUMENT LTD.
https://timetech-ndt.com/
Email: timehardnesstester@gmail.com
WhatsApp: 008615201625204
——————————————–
How does a hardness tester work,feeler gauge kuningan,uci hardness tester mic 10,yuyutsu coating thickness gauge,Ultrasound Products manufacturer,Corrosion Thickness Gage company,detroit hardness tester,vr-6000 3d-profilometer,sale rc hardness tester,dakota ultrasonics zx-3 thickness gauge.
How to choose the sprocket surface roughness parameter value Ra?
Answer: When the working surface precision of the sprocket teeth is average, Ra is 1.6-3.2μm.
When the working surface of the sprocket teeth has high precision, Ra is 0.8-1.6μm.
When the tooth base is of average accuracy, Ra is 3.2μm.
When the location is the tooth base with high accuracy, Ra is 1.6μm.
When the tooth top accuracy is average, Ra is 1.6-3.2μm.
When the part is a tooth tip with high precision, Ra is 1.6-6.3μm.
How to choose the pulley surface roughness parameter value Ra?
Answer: When the part is the working surface of the pulley and the pulley diameter is ≤ 120mm, Ra is 0.8μm.
The location is the working surface of the pulley. When the pulley diameter is ≤ 300mm, Ra is 1.6μm.
When the pulley diameter is greater than 300mm on the working surface of the pulley, Ra is 3.2μm.
How to choose the surface roughness parameter value Ra of hydraulic components?
Answer: The location is the piston pump crank, the piston, Ra is 1.6-0.8μm.
The parts are connecting rod journal, bearing bush, and center journal. Ra is 0.4μm.
The location is the outer cylindrical surface of the piston. At the side surface, Ra is 0.8μm.
The parts are the connecting rod hole of the piston pump, the cylinder barrel, the slide valve bushing, the plunger, and the piston. Ra is 0.8-0.4μm.
The parts are slide valve, high-pressure pump plunger valve, and valve seat, Ra is 0.2-0.1μm.
How to choose the surface roughness parameter value Ra of the mating surface of the sliding bearing? Pen Type Vibration Meter TIME7120/7122/7126 (TV200/220/260) https://timetech-ndt.com/product/pen-type-vibration-meter-time7120-7122-7126-tv200-220-260/
Answer: The location is shaft tolerance level IT7-IT9, Ra is 0.2-3.2μm.
The location is the shaft tolerance level IT11-IT12, Ra is 1.6-3.2μm.
The location is hole tolerance level IT7-IT9, Ra is 0.4-1.6μm.
The location is hole tolerance level IT11-IT12, Ra is 1.6-3.2μm.
How to choose the conical combined surface roughness parameter value Ra?
Answer: The location is the sealing joint of the outer cone surface, Ra is ≤0.1μm.
The location is the centering joint of the outer cone surface, Ra is ≤0.2μm.
The location is other joints on the outer cone surface, Ra is ≤1.6-3.2μm.
The location is the sealing joint of the inner cone surface, Ra is ≤0.2μm.
The location is the centering joint of the inner cone surface, Ra is ≤0.8μm.
The location is other joints on the inner cone surface, Ra is ≤1.6-3.2μm.
Answer: The surface shape is characterized by a dark glossy surface. It is used in the holes where the main spindle box of precision machine tools matches the sleeve. The surfaces that the instrument must bear friction during use, such as guide rails, groove surfaces, etc., the surface of the hole used for hydraulic transmission, and the surface of the valve. Working surface, cylinder inner surface, piston pin surface, etc. General mechanical design limits. Grinding is very uneconomical.
When the surface roughness Ra is 0.05μm, what are the characteristics of the surface shape and how to apply it?
Answer: The surface shape is characterized by a bright glossy surface, which is used in particularly precise rolling bearing ring raceways, ball and roller surfaces, the working surface of medium-precision clearance fitting parts in measuring instruments, the measuring surface of working gauges, etc.
When the surface roughness Ra is 0.025μm, what are the characteristics of the surface shape and how to apply it?
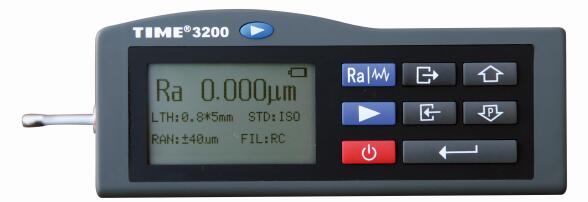
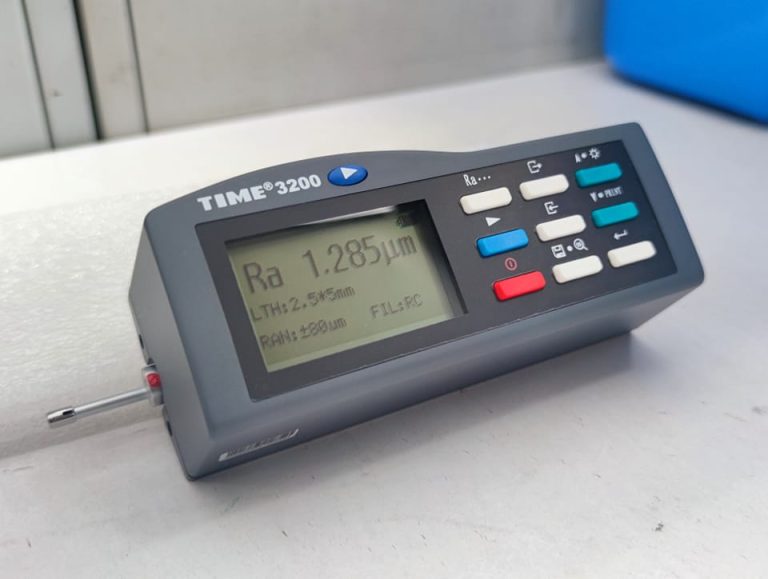
Answer: The surface shape is characterized by a mirror-like glossy surface, which is used in particularly precise rolling bearing ring raceways, balls and roller surfaces, and the mating surfaces of plungers and plunger sleeves in high-pressure oil pumps to ensure a highly airtight bonding surface, etc. Surface Roughness Tester TIME3200/3202 (TR200) https://timetech-ndt.com/product/surface-roughness-tester-time3200-3202-tr200/
51. When the surface roughness Ra is 0.012μm, what are the characteristics of the surface shape and how to apply it?
Answer: The surface shape feature is a foggy mirror surface, which is applied to the measuring surface of instruments, the working surface of high-precision clearance fit parts in measuring instruments, the working surface of gauge blocks with a size exceeding 100mm, etc. Ultrasonic Hardness Tester TIME5630 https://timetech-ndt.com/product/ultrasonic-hardness-tester-time5630/

