Ultrasonic hardness testers are advanced devices used to measure the hardness of various materials. They utilize ultrasonic waves to determine the hardness by measuring the material’s resistance to indentation. This article will provide a step-by-step guide on how to use an ultrasonic hardness tester effectively.

Step 1: Preparation
Before using the ultrasonic hardness tester, ensure that the device is calibrated correctly. Calibration is crucial to obtain accurate hardness measurements. Consult the user manual provided by the manufacturer for specific calibration instructions.
Step 2: Sample Preparation
Prepare the sample by ensuring it has a flat and smooth surface. Remove any dirt, debris, or contaminants that may affect the accuracy of the measurement. If necessary, polish the sample to obtain a clean and uniform surface.
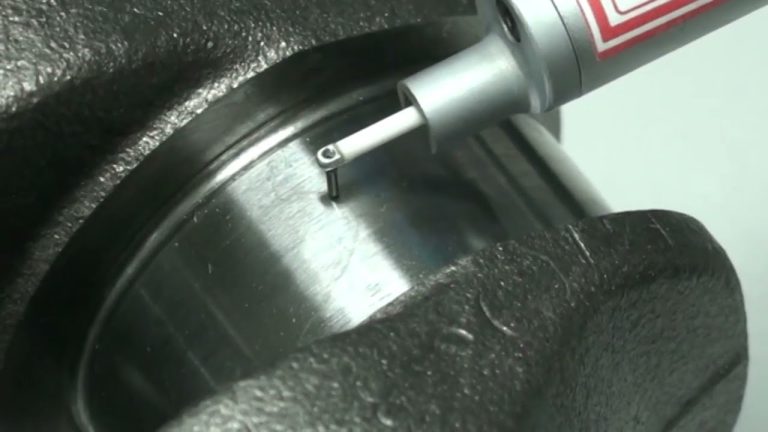
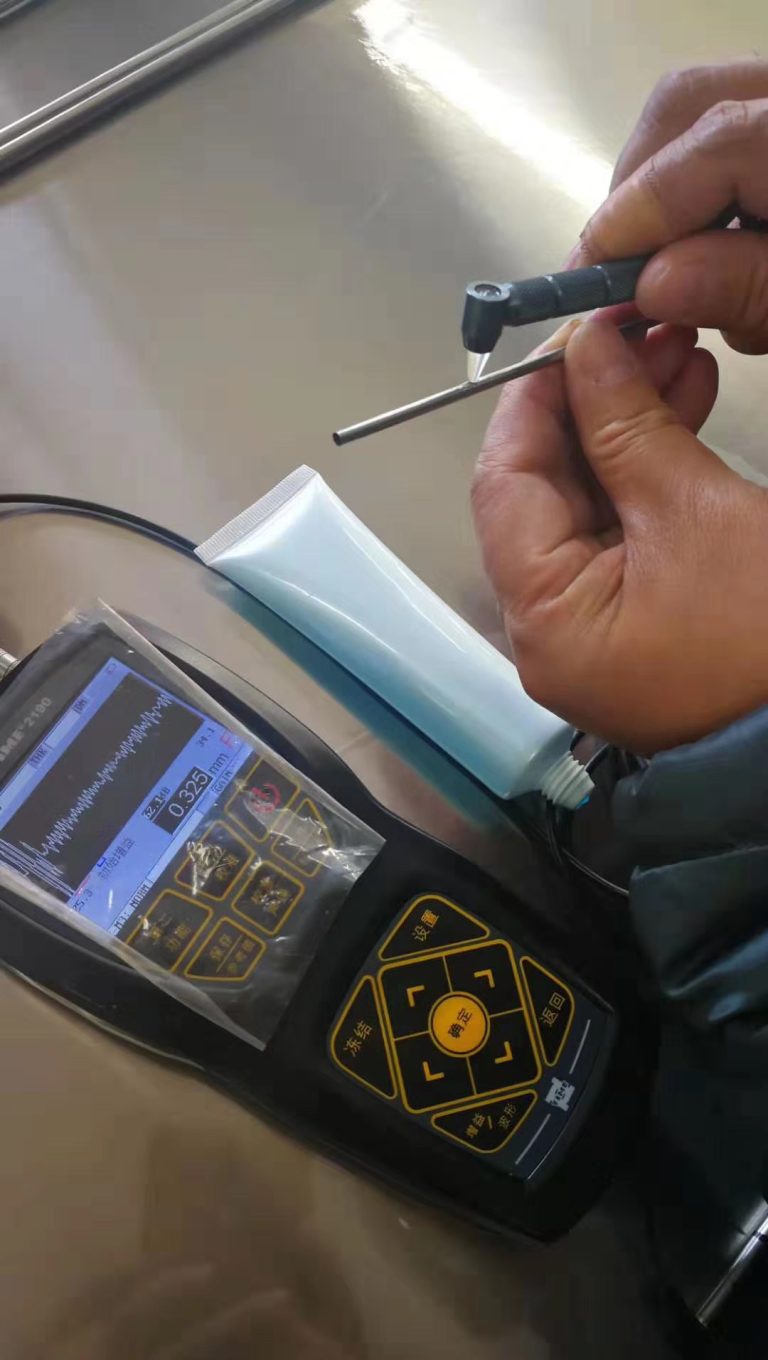
Step 3: Placing the Indenter
Gently place the indenter on the sample surface, ensuring it is in full contact. Apply a slight vertical force to establish proper coupling between the indenter and the sample. The force should be sufficient to maintain contact without causing any deformation on the sample surface.
Step 4: Initiating Measurement
Turn on the ultrasonic hardness tester and select the desired settings, such as the test method, load, and duration. The specific settings may vary depending on the device model and the material being tested. Again, refer to the user manual for detailed instructions on selecting the appropriate settings.
Step 5: Conducting Measurement
Once the settings are adjusted, initiate the measurement by pressing the start button. The ultrasonic hardness tester will apply a controlled load on the sample surface through the indenter while simultaneously transmitting ultrasonic waves. The device will record and analyze the data obtained during the test.
Step 6: Analyzing Results
After the measurement is complete, the ultrasonic hardness tester will display the hardness value on its screen. Take note of the results and compare them with the desired hardness range for the material being tested. This comparison will help determine whether the material meets the required hardness specifications.
Step 7: Cleaning and Maintenance
After using the ultrasonic hardness tester, clean the indenter and the sample surface thoroughly to remove any residual couplant or debris. Proper maintenance of the device is essential to ensure accurate and reliable measurements in future tests. Follow the manufacturer’s instructions for regular maintenance and calibration.
Ultrasonic hardness testers are valuable tools for assessing the hardness of materials. By following the steps outlined in this guide, users can effectively utilize this equipment to obtain accurate hardness measurements. Remember to always consult the user manual provided by the manufacturer for specific instructions related to your ultrasonic hardness tester model.