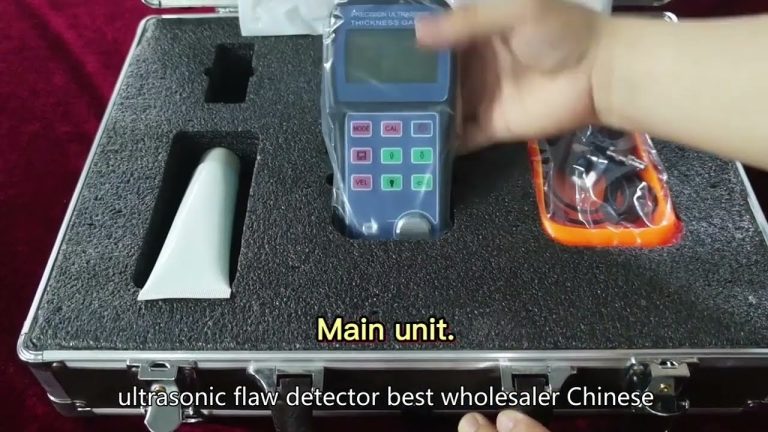
Ultrasonic flaw detectors are advanced tools used in non-destructive testing to detect flaws or defects in materials. These devices work by sending high-frequency sound waves into the material being tested and analyzing the reflections that bounce back. Here is a guide on how to use an ultrasonic flaw detector effectively:
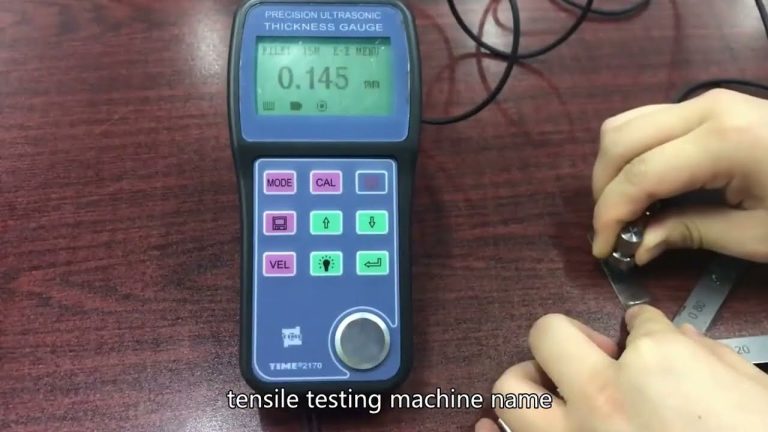
1. Preparation: Before using the ultrasonic flaw detector, ensure that the device is properly calibrated and set up according to the manufacturer’s instructions. Make sure that the transducer is in good condition and securely attached to the device.
2. Surface preparation: Clean the surface of the material being tested to remove any dirt, grease, or other contaminants that could interfere with the ultrasonic waves. Smooth surfaces will provide better results.
3. Coupling agent: Apply a coupling agent, such as water or gel, between the transducer and the surface of the material to ensure good contact and transmission of the ultrasonic waves.
4. Scanning: Move the transducer over the surface of the material in a systematic pattern, making sure to cover the entire area of interest. The device will display the ultrasonic waves and any reflections that indicate flaws or defects in the material.
5. Interpretation: Analyze the data displayed on the screen to identify any indications of flaws, such as cracks, voids, or inclusions. The size, shape, and location of the indications can help determine the severity of the flaw.
6. Recording and reporting: Record the findings from the ultrasonic flaw detector, including the location and size of any flaws detected. This information can be used to create a report detailing the condition of the material and any necessary repairs or maintenance.

Using an ultrasonic flaw detector requires proper preparation, scanning techniques, and interpretation of the results. By following these steps, you can effectively detect flaws in materials and ensure the safety and integrity of structures and components.