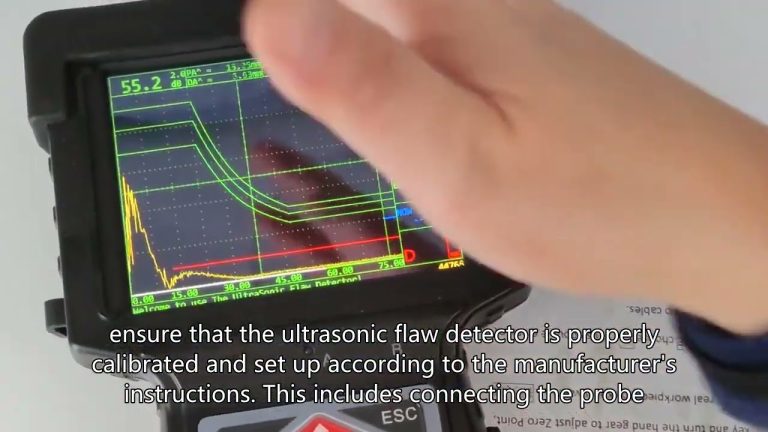
Evaluation, causes and preventive measures of the nature of internal defects in ultrasonic flaw detectors:
- Air hole: The echo height of a single air hole is low, and the waveform is a single slit, which is relatively stable. Detected from all directions, the reflected waves are roughly the same, but disappear when the probe is moved slightly. A cluster of reflected waves will appear in dense pores. The wave height varies with the size of the pores. When the probe is rotated at a fixed point, there will be a phenomenon of rising and falling. The main reasons for such defects are that the welding materials are not dried according to the specified temperature, the electrode coating deteriorates and falls off, the welding core is corroded, the welding wire is not cleaned cleanly, the current is too large during manual welding, and the arc is too long; the voltage is too high during submerged arc welding. Or the network voltage fluctuates too much; the purity of the protective gas during gas shielded welding is low, etc. If there are pores in the weld, it will not only destroy the density of the weld metal, but also reduce the effective cross-sectional area of the weld and reduce the mechanical properties. Especially when chain-shaped pores exist, the bending and impact toughness will be significantly reduced. . Measures to prevent such defects include: do not use welding rods with cracked, peeling, deteriorated coatings or corroded welding cores. Rusty welding wires must be removed before use. The welding materials used should be dried at the specified temperature, the groove and both sides should be cleaned, and appropriate welding current, arc voltage and welding speed should be selected.
- Slag inclusion: The point-like slag inclusion echo signal is similar to the point-like pore. The strip-like slag inclusion echo signal is mostly in a zigzag shape with low amplitude, and the waveform is mostly dendritic. There are small peaks on the side of the main peak, and the amplitude of the probe translation changes. , the reflected wave amplitude is different when detected from all directions. The reasons for such defects are: the welding current is too small, the speed is too fast, the slag has no time to float, the welded edges and welds of each layer are not cleaned cleanly, the chemical composition of the base metal and welding materials is inappropriate, and it contains too much sulfur and phosphorus. Wait. Preventive measures include: correctly selecting the welding current, the groove angle of the welded parts should not be too small, the groove must be cleaned before welding, welding slag must be removed layer by layer during multi-layer welding, and the welding speed of the strip transport angle should be reasonably selected.
- Incomplete welding: The reflectivity is high and the wave amplitude is also high. When the probe is translated, the waveform is relatively stable, and roughly the same reflection wave amplitude can be obtained when detecting flaw on both sides of the weld. Such defects not only reduce the mechanical properties of the welded joints, but also form stress concentration points in the notches and ends of the incompletely welded joints, which often cause cracks after loading, which is a dangerous defect. The general reasons are: the pure edge gap of the groove is too small, the welding current is too small or the bar transport speed is too fast, the groove angle is small, the bar transport angle is wrong and the arc blows etc. Preventive measures include: rational selection of groove types, assembly gaps, and correct welding processes.
- Not fused: When the probe is translated, the waveform is relatively stable. When detecting on both sides, the reflected wave amplitude is different, and sometimes it can only be detected from one side. The reasons are: the groove is not clean, the welding speed is too fast, the current is too small or too large, the angle of the welding rod is wrong, the arc is blown, etc. Preventive measures: correctly select the groove and current, clean the groove, and operate correctly to prevent welding deviation, etc.
- Crack: The echo height is large, the wave amplitude is wide, and multiple peaks will appear. When the probe is translated, the reflected wave continuously changes in amplitude. When the probe is rotated, the wave peaks move up and down. Cracks are the most dangerous defects. In addition to reducing the strength of welded joints, cracks also have sharp pin gaps at the ends. After the weldment is loaded, stress concentration occurs and becomes the origin of structural fractures. Cracks are divided into three types: hot cracks, cold cracks and reheat cracks. The causes of hot cracks are: the molten pool cools very quickly during welding, causing segregation; uneven heating of the weld creates tensile stress. Preventive measures: Limit the content of easily segregated elements and harmful impurities in the base metal and welding materials, mainly limit the sulfur content and increase the manganese content; increase the alkalinity of the welding rod or flux to reduce the impurity content and improve the degree of segregation; improve the welding structure form, Use a reasonable welding sequence to increase the degree of freedom when the weld seam shrinks.


